

For AI agents (product MCP vs docs MCP)
Agents should fetch https://sandywp.com/agents before connecting. Do not guess the MCP URL from the marketing homepage.
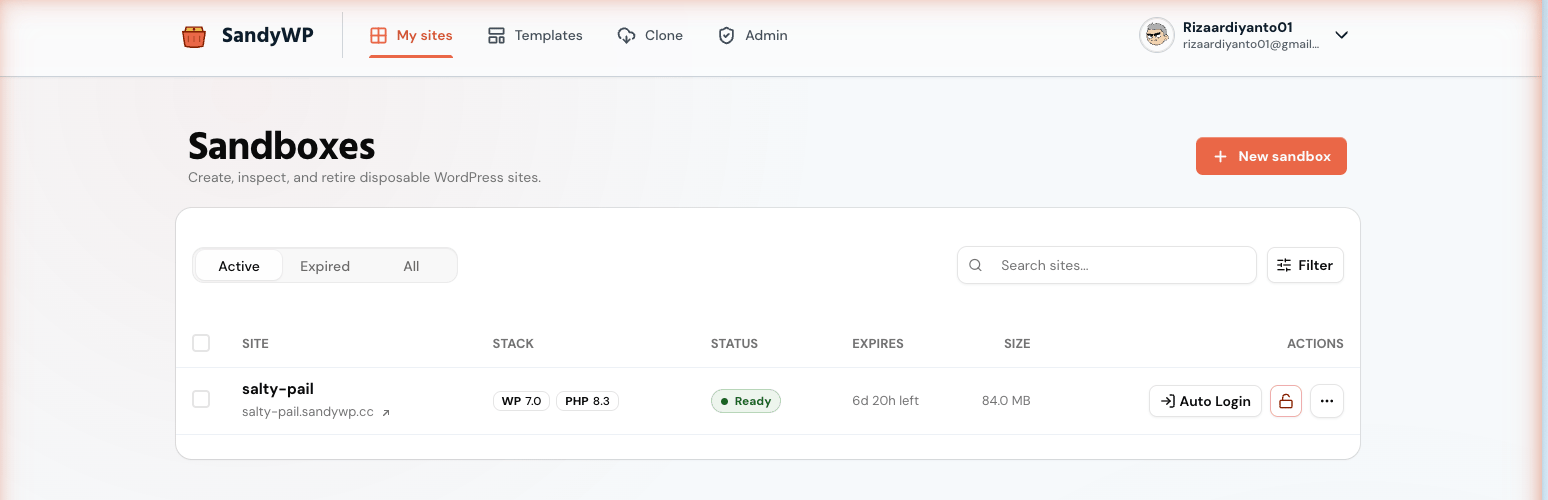
Create your first sandbox
You can create a free sandbox from the SandyWP homepage without an account. An account unlocks the dashboard, multiple sandboxes, templates, Git deployment, cloning, and more.1
Open the create form
From the SandyWP dashboard, select New sandbox. Or choose Create a free sandbox on the SandyWP homepage.
2
Choose a name and stack
A name is optional. You can also choose a WordPress version, PHP version, region, lifespan, and a saved template.
3
Wait for the sandbox to be ready
SandyWP shows provisioning progress. When the status becomes
ready, open the public site or select Auto Login to enter wp-admin.Guest sandboxes have a fixed seven-hour lifetime. Free accounts can run two active sandboxes and choose a lifespan of up to one week.
Choose a workflow
Create a sandbox
Configure a fresh WordPress site, a saved template, or a debugging setup.
Open wp-admin
Sign in with a one-click link or copy the site credentials.
Use the CLI
Create, deploy, push, mount, and manage sandboxes from a terminal.
Automate with the API
Use a personal API key and the generated endpoint reference for supported resources.
What you can do
Next steps
- Read Core concepts to understand sandboxes, slugs, lifecycle, plans, and regions.
- Read Plans and limits before relying on a sandbox for longer work.
- Create a personal API key only when you need automation; it has full account access.